Comparing the old and new Raspberry PI camera

So here the initial results of comparing the old (v1.3) raspberry PI camera vs. the new (v2) raspberry camera. Besides the Megapixel difference (5mp vs 8mp) you can also clearly see from these images that the new camera is a wider (larger Field of View) camera. So while having more megapixels, if you shoot from the same distance if does not necessary mean you get more pixels from your subject.

One very big difference that is instantly visible is the difference in colors. The new v2 camera reproduces significantly better colors.

So is this an easy replacement for the older camera in the 3D scanner. I would say, not directly, To get the best out of the new camera, you would need to shoot closer to the subject. This will cause some challanges. Your poles will be closer, so it might start interfering with projection as they can really not move much closer then 1meter as you will not be able to cover the entire person.

Feel free to download the original source images (untouched). You will find the the images from the V2 camera are for some reason by default horizontally flipped. I will need to have a think about what this will mean for the current scanner design, so more to follow on this subject.

Download the original images here

New open source pole design - Preview

I started with my 3D Scanner design 3 years ago and I have learned a lot in those 3 years :-) I really wanted to design a new Scanner designed to be:
- Extremely Mobile, setup time needs to be less then 30 minutes
- Easy to assemble, ikea style design
- Easy to self-manufacture by people all over the world
- Cheap in material cost

Well I think I am almost there! So I thought I would give you a preview of my new Scanner Pole design.

The new poles are designed so that no single part is larger then 1 meter in length. This should make it fairly easy for people to locally source a Laser cutting or CNC service to have all the components made.

The material I am currently using is 3mm thick multiplex wood. It is very light and cheap and due to the design with inner rips is very strong structure.

Each pole has its own 5v / 10amp power supply to provide power to Raspberry units, 8 port gigabit networking switch and Fan. It also has an 24v / 2.5 amp power supply to supply power to the LED strips that are mounted on each pole (no in the current picture). The power supply can do current limit dimming (Not PWM) so you can have 5 levels of brightness for your LEDs without having any artifacts on your images (that you would have when using PWM dimming).

I am in the final stages of the design, finishing off the mounting to the ground plates and some other small details. I will be releasing all building files open source and free for anyone to use in what ever way they like. I will provide a full Bill of Materials list and will be able to provide some of the components if you want.

Full Color Paper 3D Printing - Our experience

As far as I know, anyone that runs a 3D scanning studio for mini-figures, uses the 3D Systems 660 sandstone printer. While this printer is far from perfect, if you get the color right, it can produce nice results.

But are there any alternatives? Well, there are other "color 3D printers", but are any good enough to print mini-figures. A while back I already tried the color plastic 3d printer from stratasys, the Stratasys-j750. I unfortunately came very quick to the conclusion that the lack of color spectrum (only 360K colors) was a serious limit. Color difference between skin and light colored hair was really invisible. Skin tones where nowhere realistic. So "full color" plastic 3D printing, not an option.

There is one other technology that allows you to print in full color, using normal paper. This technology is used by the company Mcore. They have has a full color 3D printer for a while, the Mcor Iris and they have announced a new printer calles the Mcore Arke.. Especially that last one triggered our attention. The printer will be prices at around $8000, which seems very reasonable for a 3D printer.

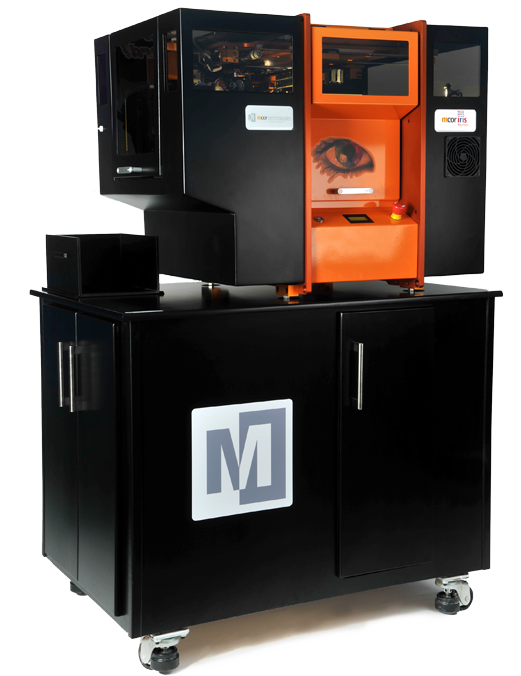
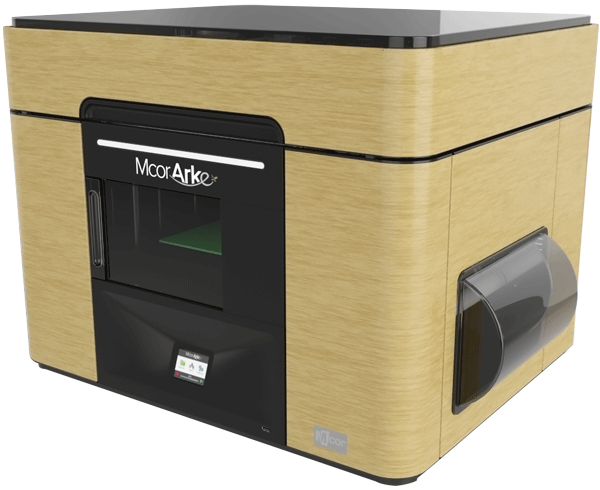
The printer uses a normal inject printer to print each layer on a normal sheet of paper. This paper is then cut around the edges of the object and then qlued layer on top of layer. With the Iris printer, you have to separately print out the sheets of paper and then insert it in the Iris machine who will do the cutting and glue-ing. With the upcoming Arke printer, the inkjet priting part is integrated into the printer it self. It also prints just on a paper roll, instead of individual paper sheets.

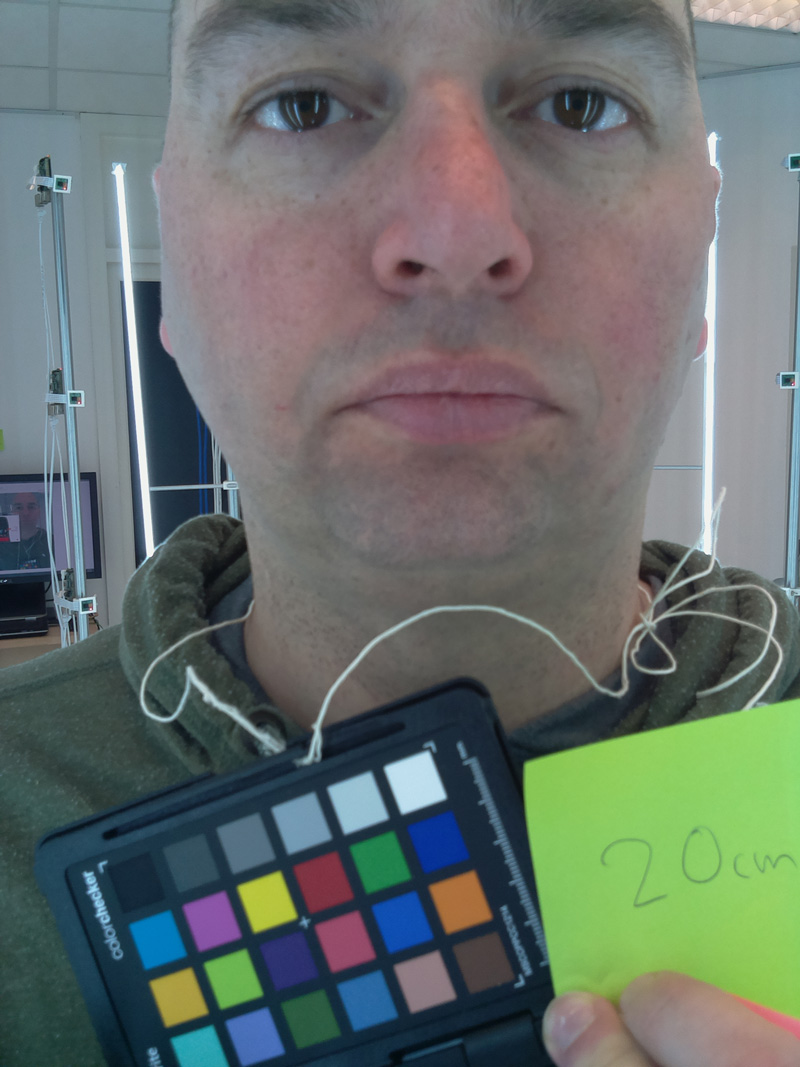
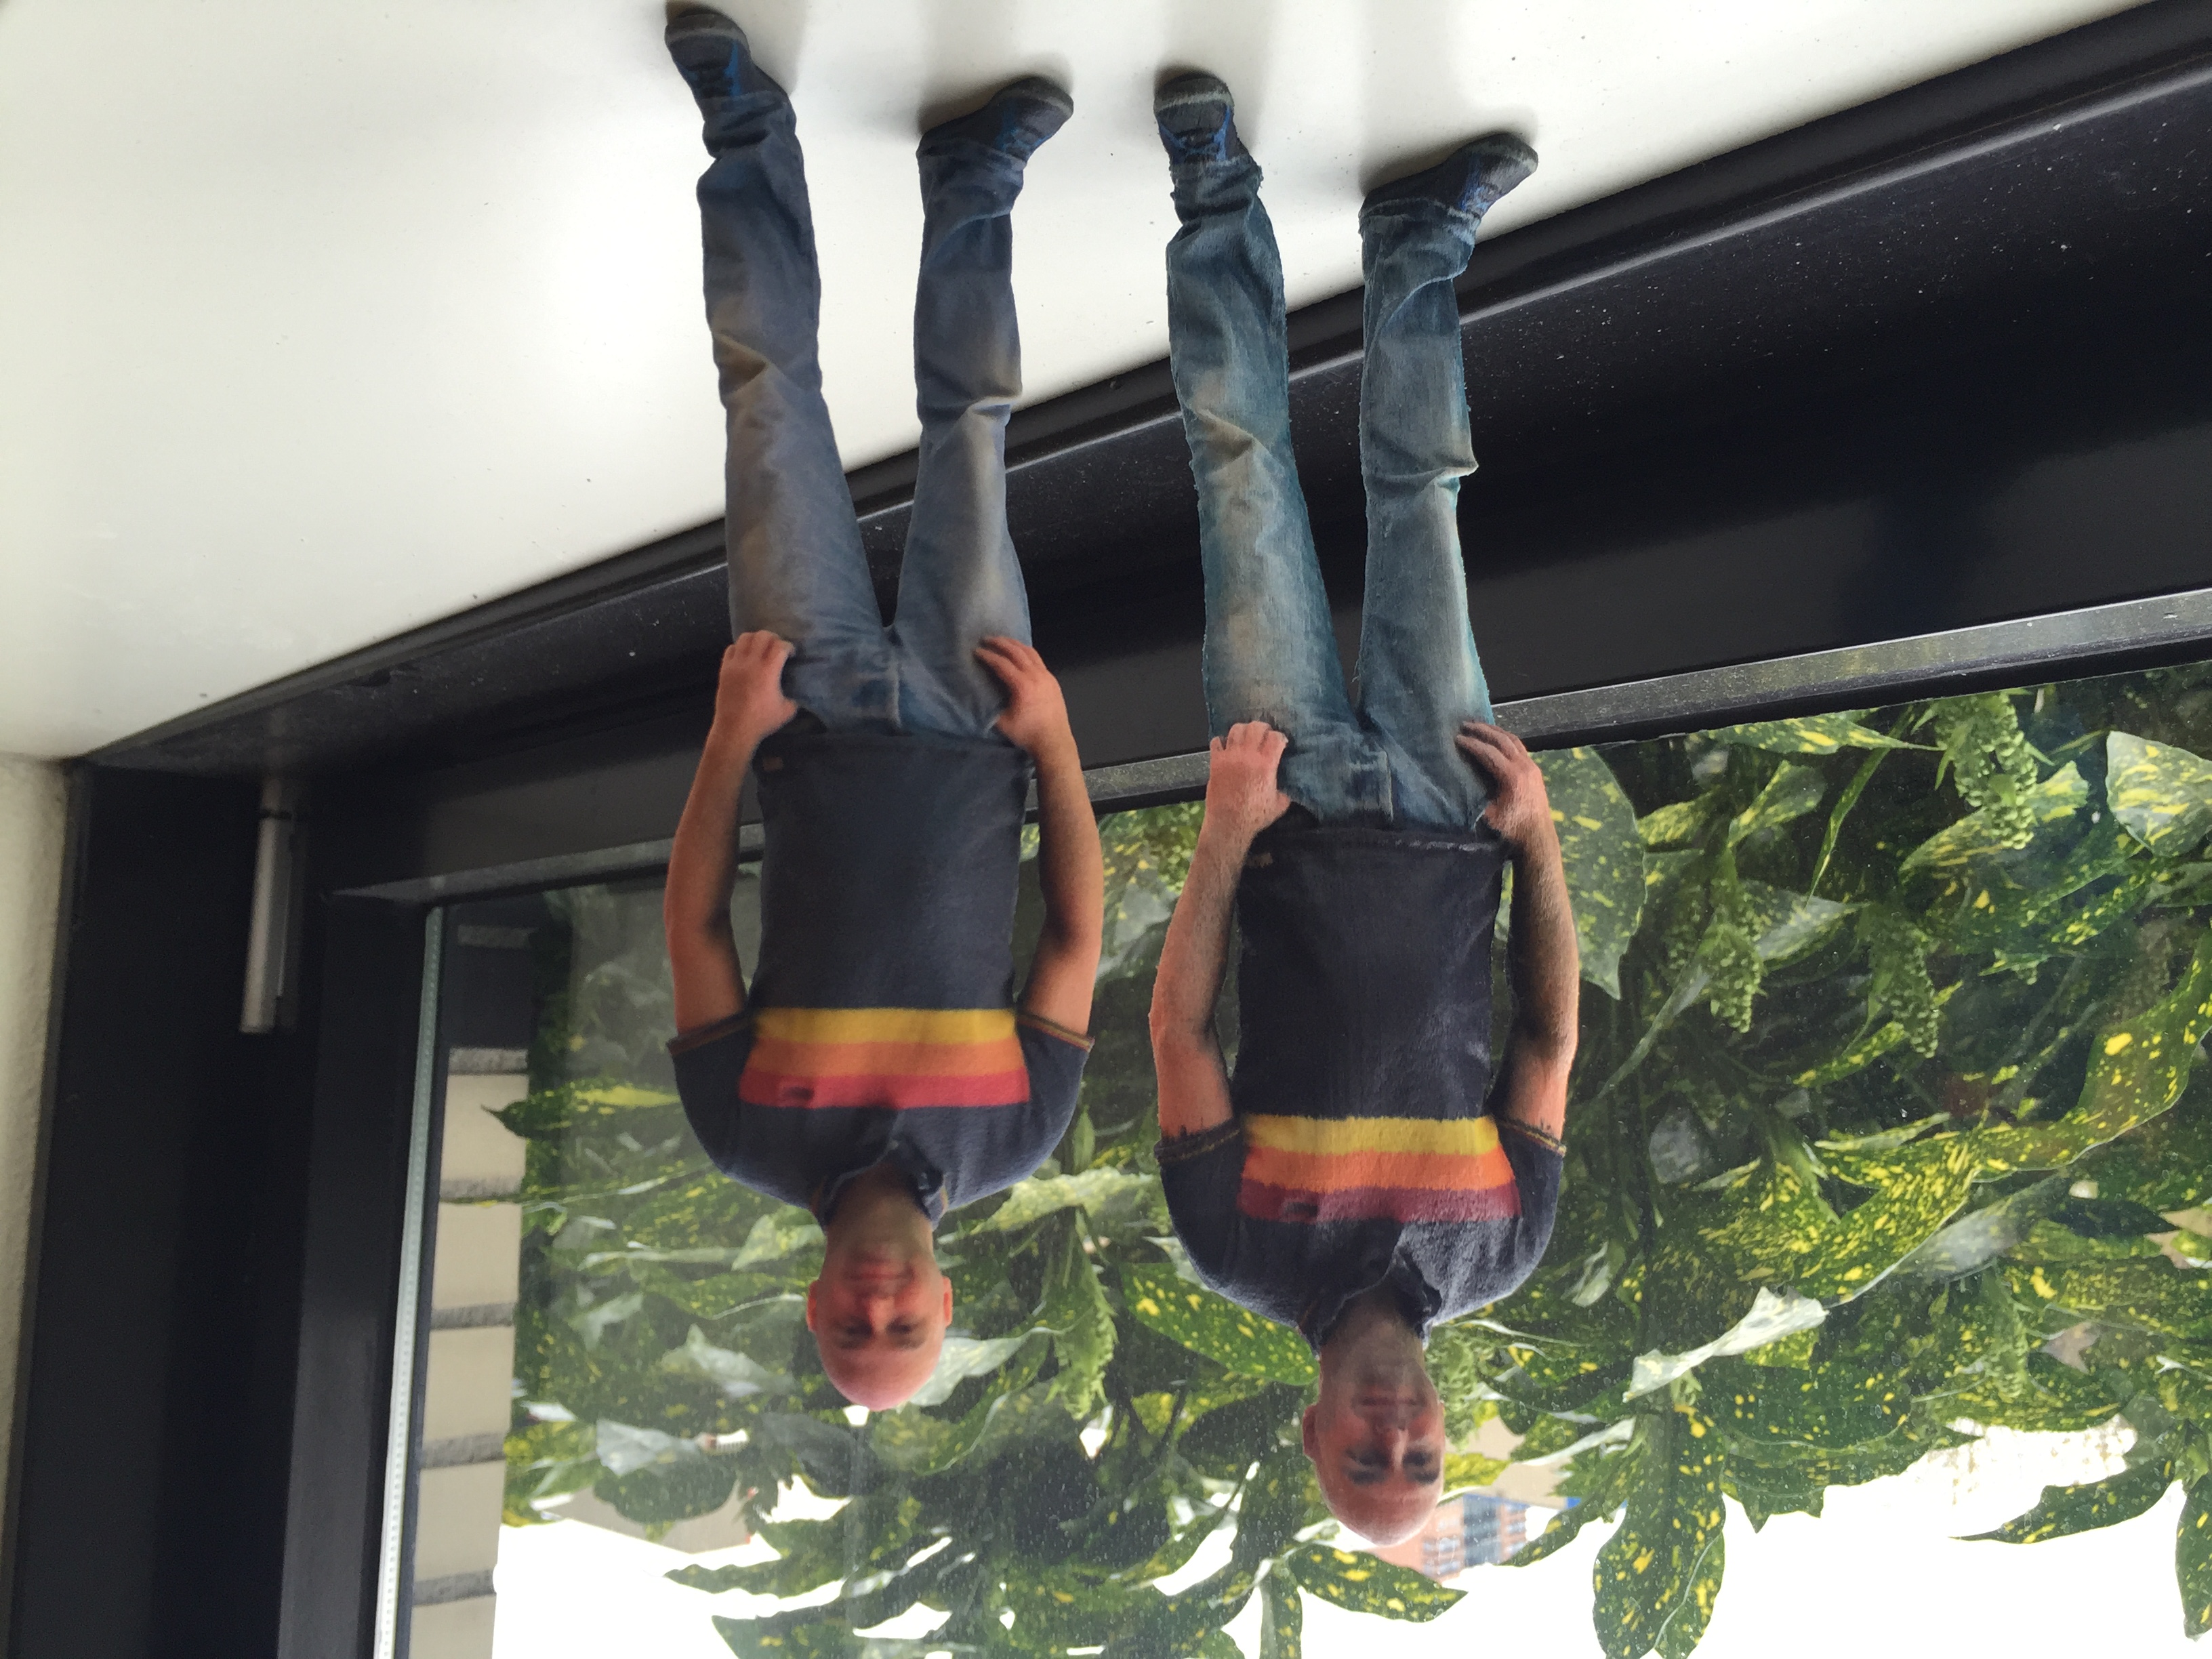
I had to try this paper printer technology, so found a company in germany called Formicum that was willing to print my 3D model on their Mcore iris printer. They have a minimum height of 20cm, so instead of printing my model in 1:10 scale, they upscaled it a little bit for me to reach their minimum size limit of 20cm. (I have no idea why they have this limit).

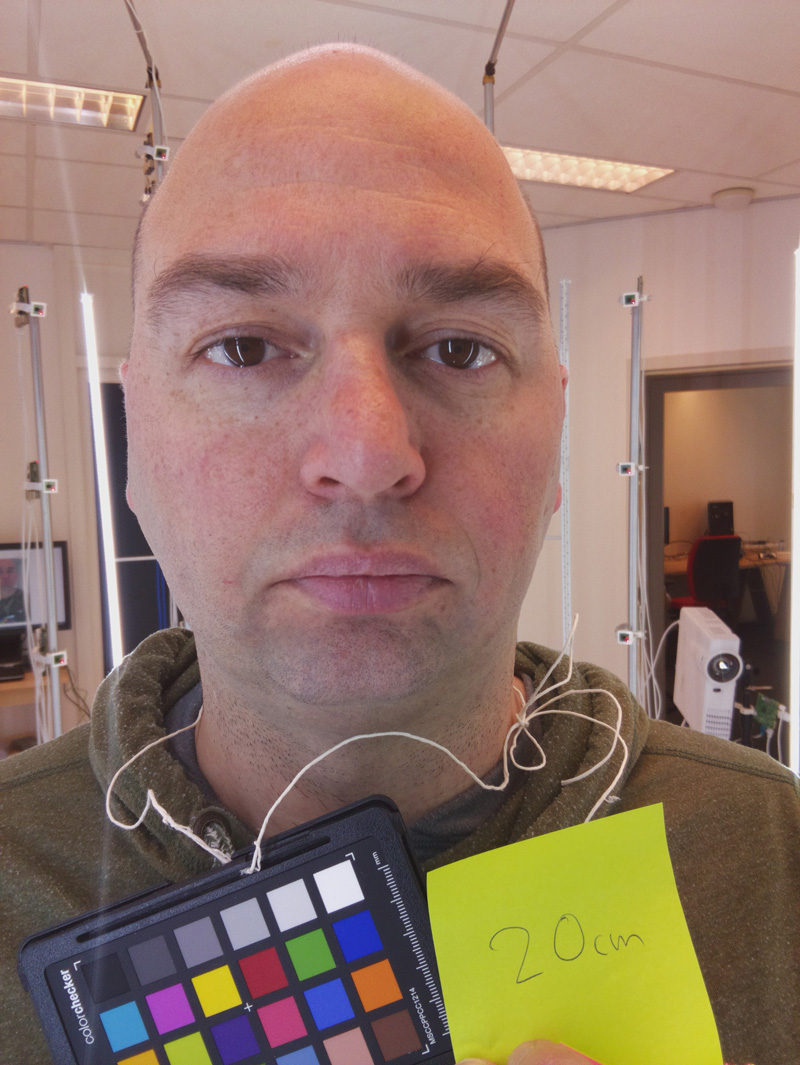
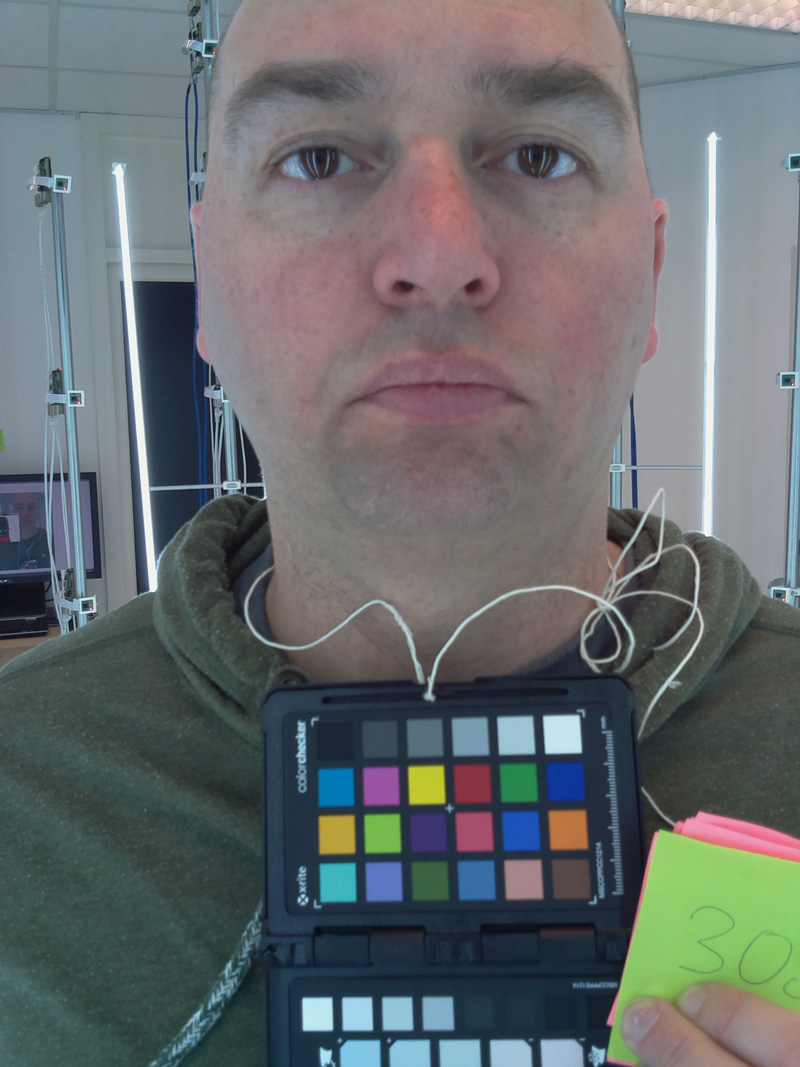
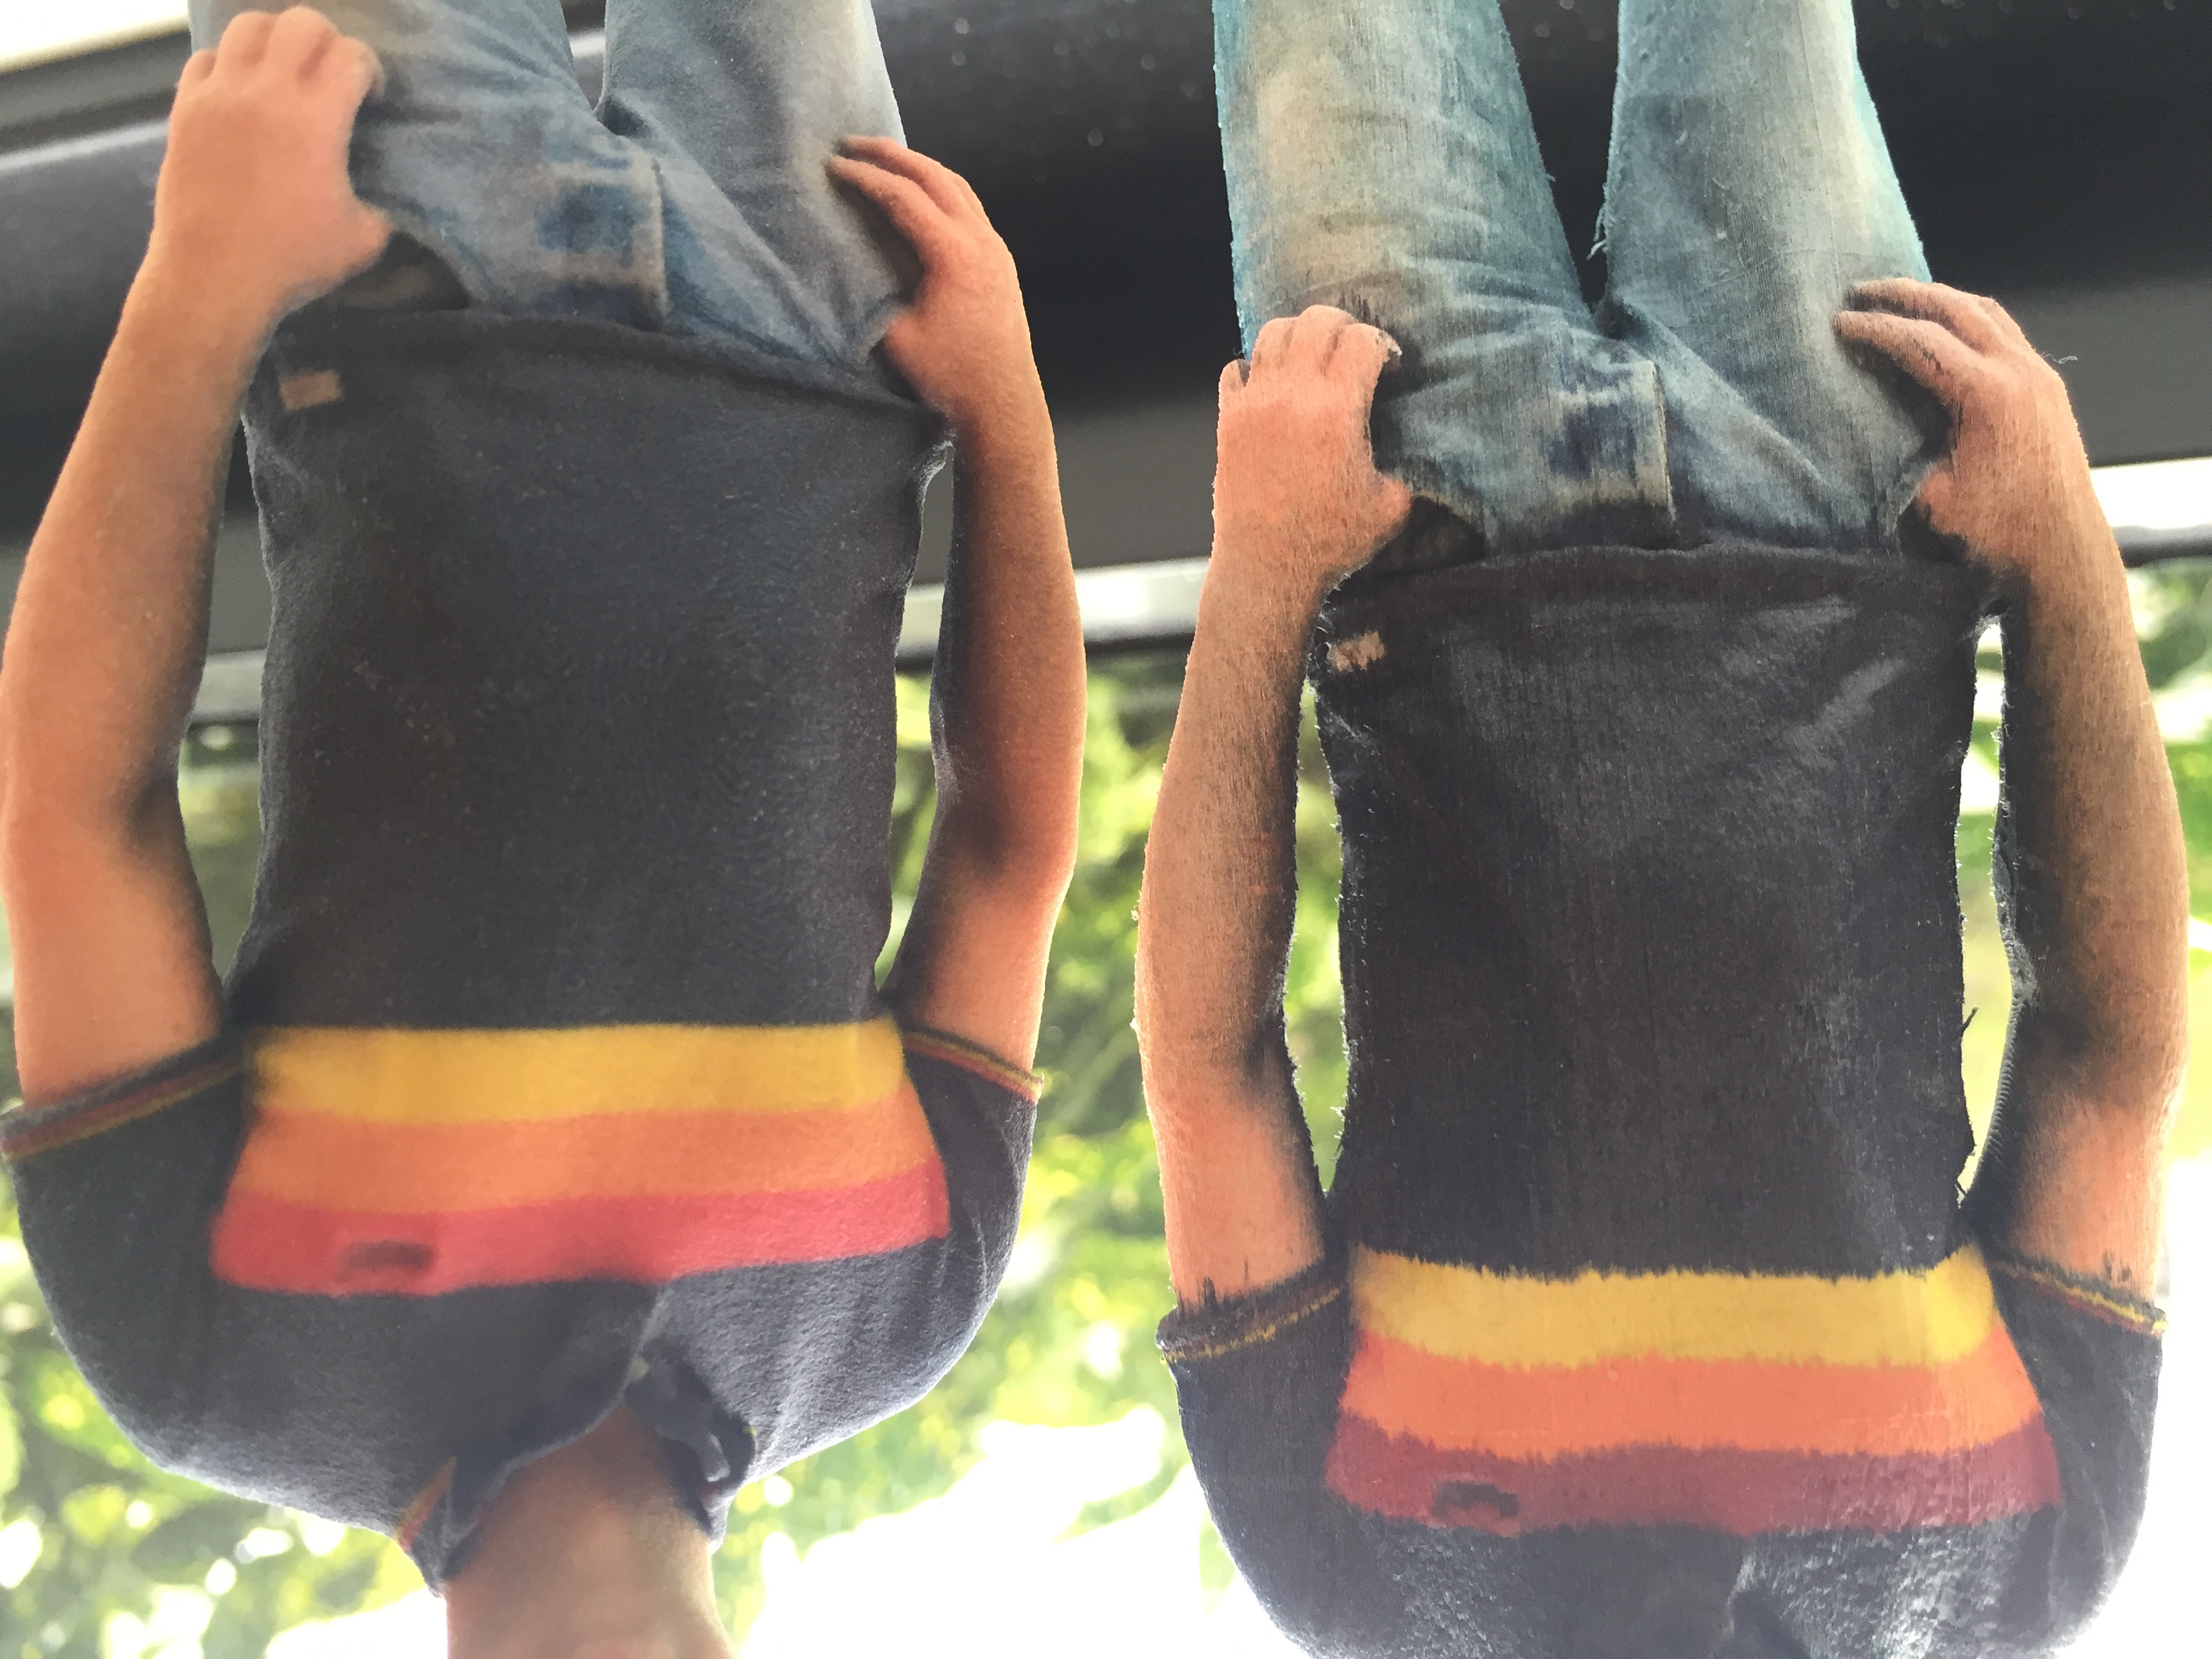
Here the results (compared to is sandstone counterpart):

I hope that the pictures are clean enough, but to my conclusion, this printing technology is clearly not suitable for priting 3D figurines. On the mcore website you will see that they state their printers are suitable for this and even show examples. If you look closely to their own examples (which I assume are the best possible prints) you also see the massive "color bleeding" cased by the fact that each layer is not very exactly glued on top of each other.

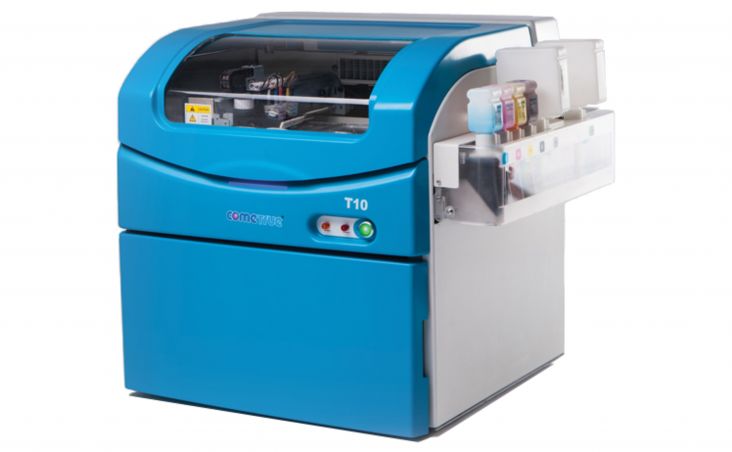
So for now, we will keep printing on the 3D systems project 660, while not perfect, unfortunately today our only option. There is starting to be competition in the market for the full color sandstone printers. For instance, made in china is the ComeTrue 3D printer. We have need been able to find a service that uses that printer, so if you have any experience with that printer, please let us know!

More Articles ...