
2. Configuring the 3D Scanner Controller PC
Configure the windows control machine's networking.
Before you install the control software on your windows machine, you need to make sure the PC is connected to the 3D scan network. It is recommended to run a separate network for the camera units that is not connected to the internet.
As there is likely no DHCP service on the scan network, you need to provide your PC with a static IP address. The camera units should run an IP within the range of 192.168.99.50 - 192.168.99.254. It is recommended to assign the control PC the IP address of 192.168.99.1
Go to your windows control panel and click on “Network and Internet” and click on the “View network status and tasks”
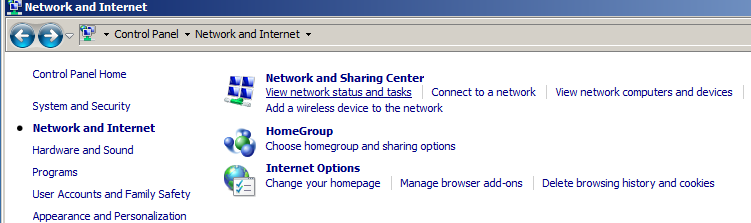
Click on the “Change adapter setting” and it should show you the network cards installed into your PC. In case this is a laptop, you likely see a wire network and your wireless network.
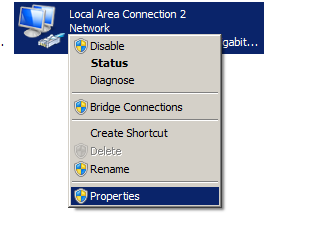
Right-click on the network that is connected to your 3D Scanner network and select “Properties”
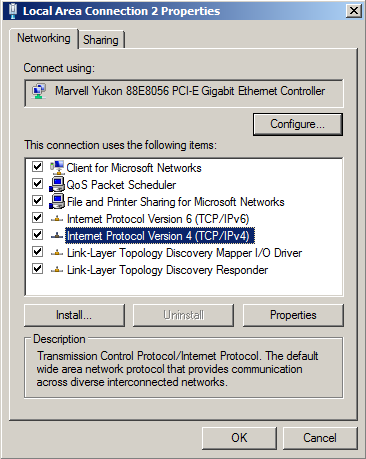
Go to the “Internet Protocol Version 4” and click on properties.
You can now specify the static IP address for this PC
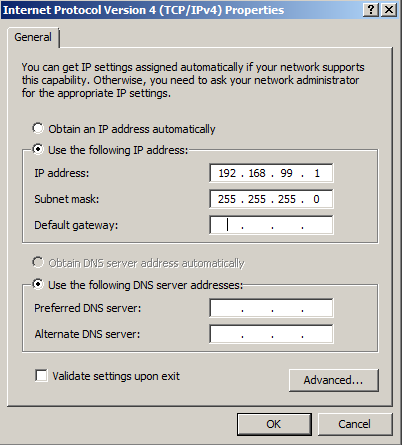
Enter the IP address: 192.168.99.1
with the subnet mask 255.255.255.0
You can leave the default gateway and DNS information empty.
You can now go to step 3 and install the 3D Scan Management Software