
Automatic Scan Processing with Agisoft and Sketchfab
How to automatic process Scans with Agisoft.
Download the needed script + support files
With the above script you can automate the process from scan to posting on Sketchfab using Agisoft Professional. Agisoft Standard edition does NOT support scripting. The script has been tested with Agisoft Version 1.2.4.
You can run the script in 2 modes.
- Run once - It will just once process all the found JSON files in the monitor directory
- Run permanent - It will continuously check the monitor directory for new JSON files, when found, it will automatically process this.
In the top of the script you will find all the variables you can set.
IMPORTANT: Python is sensitive to where text is placed / indented. You will break the script is you place spaces / tabs in front of any line!
How to install:
1. Unzip the downloaded file
2. Unzip the agisoft_python_requests.zip file in the directory: c:\Program Files\Agisoft\PhotoScan Pro\python\Lib\site-packages
3. Create a directory that can be used to monitor for new jobs. This is where the JSON tasks will be saved into
4. Create a directory that can be used to save the processed files (agisoft project file, obj, sketchfab url)
5. Open up the AutoProcess_v1.py script and configure your settings.
6. You can now run the script in agisoft.
Physcial Setup
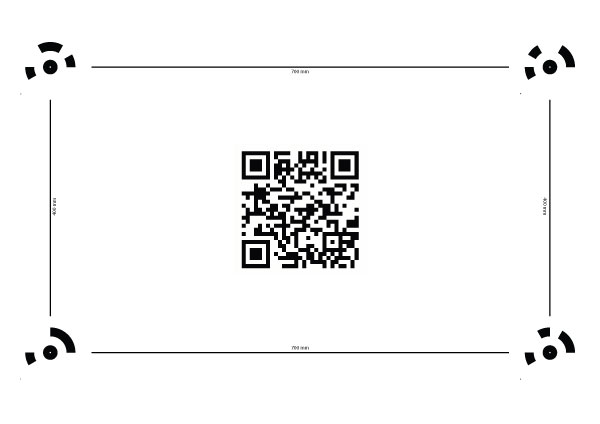
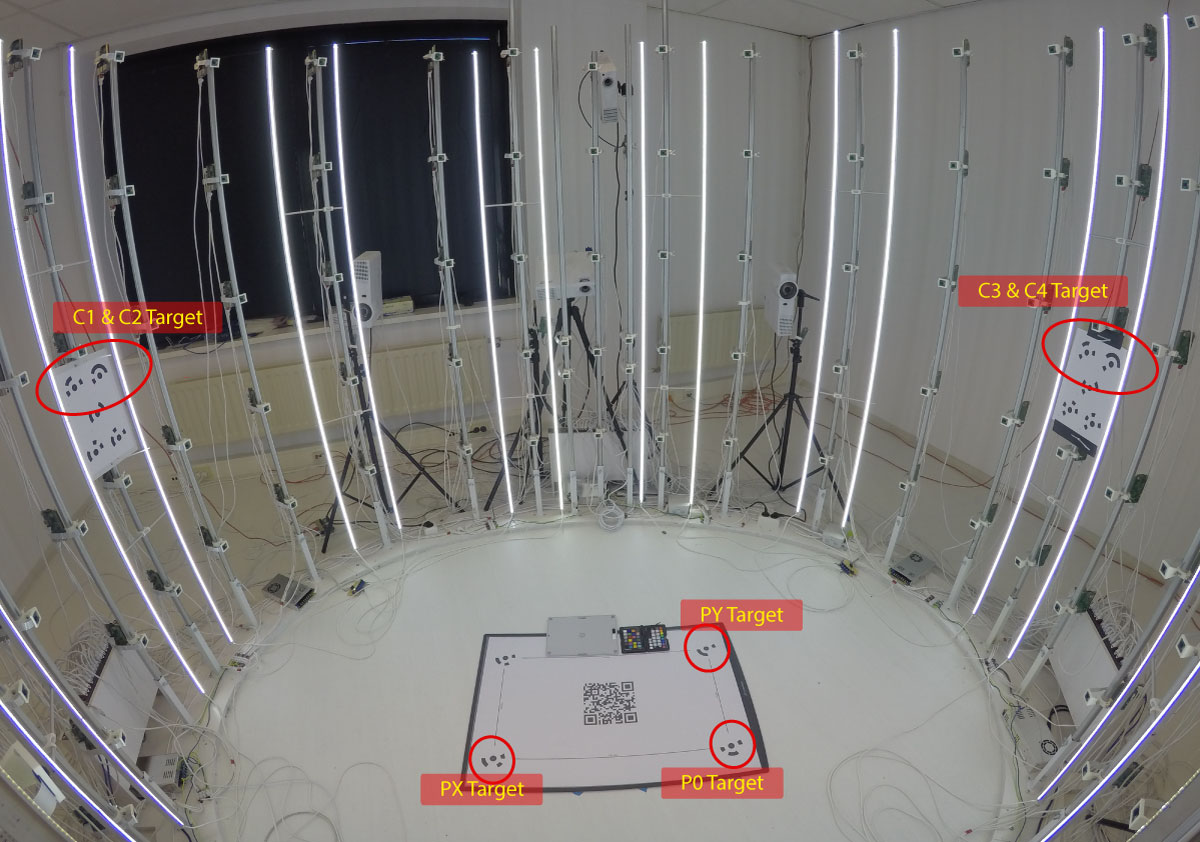
In order to use this script, you need to have markers in your scanner. To automatically create the correct bounding box, you need to use at least 3 markers on the floor, layed out in a triangle with 90 degree corner. Ideally you use the floormat from this website for this. But you can also use a single page with 5 markers printed on it.
You also need 2 markers on the left side and 2 markers on the right side of your scanner at about middle hieght. I have them at about 1.10 meters.
Creating tasks / jobs
In order to start to processing your scan(s), you need to create a JSON file for each scan you want to have processed.
Here an example: Test.json
{
 "scanid" : "161006",

"normaldir" : "d:\\3dscan\\20160417\\161006\\normal\\",

"emptydir" : "d:\\3dscan\\20160417\\161002\\normal\\",

"projectdir" : "d:\\3dscan\\20160417\\161006\\projection\\",

"savedir" : "d:\\3dscan\\processed\\",

"SKETCHFAB_DESCRIPTION" : "Sample scan",

"SKETCHFAB_ENABLE" : "1"

 }
The "emptydir" is not mandatory. If you want auto masking, you need to also create a scan of your scanner "empty" (with no person in it). This scan (without projection) can then be used to auto mask the images to provide a cleaner result.